Canvas Wrap
This feature is useful to manage the printing of canvas prints.
Starting from the image that will be in front of the canvas, this command generates the parts that will be wrapped on the edges.
The added parts are taken from the same starting image mirrored and cropped on each side.
- Choose the starting image. resize and crop it according to the canvas size.
- With the image selected, choose the toolbar command:
 or the menu:Tools → Canvas Wrap [⇧⌘W]
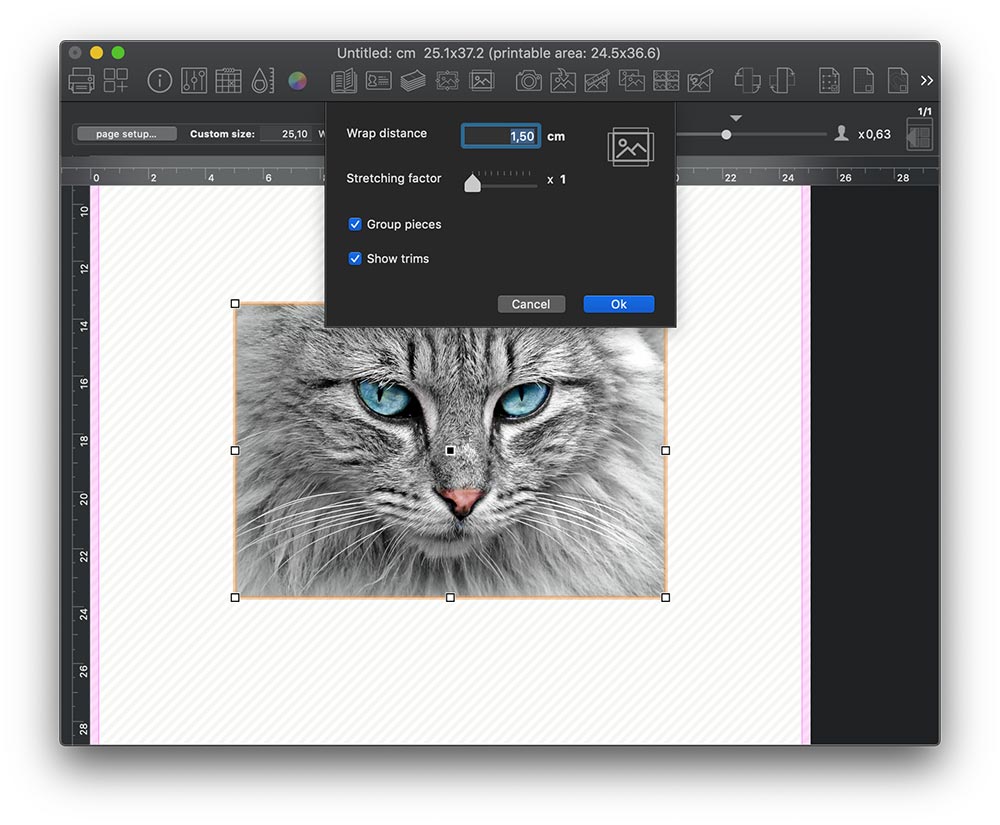
 - In the dialog (see figure 1 below) you can set:
- Wrap distance: the edge thickness, in the current unit of measure
- Stretching factor: ranging from 1 to 10. Factor 1 does not resize, while with greater values, the edge image is "stretched" (that is enlarged along the side), then cropped to the desired measure.
This has the purpose to avoid that mirrored details of the image are clearly seen on the edges, and, at the same time, it guarantees "continuity" between the central image and its prosecution on the borders. - Group pieces: at the end of the execution, the command produces 8 pieces on the image borders.
It may be useful to keep all these pieces grouped together, so to avoid unwanted movements of the single parts. - Show trim signs: these marks shows exactly the boundary (otherwise vague) between the central image and the edges.
How it works…


Note: It is possible to execute this command without the dialog. Just keep hold the key [alt] (option) while choosing the menu Tools → Canvas Wrap [⇧⌘W] or clicking the toolbar icon ![]() .
.
In this case the default parameters (the ones from the last time you used the command) will be used.